
Home Salon Magic: Your Ultimate Guide To DIY Eyelash Extensions
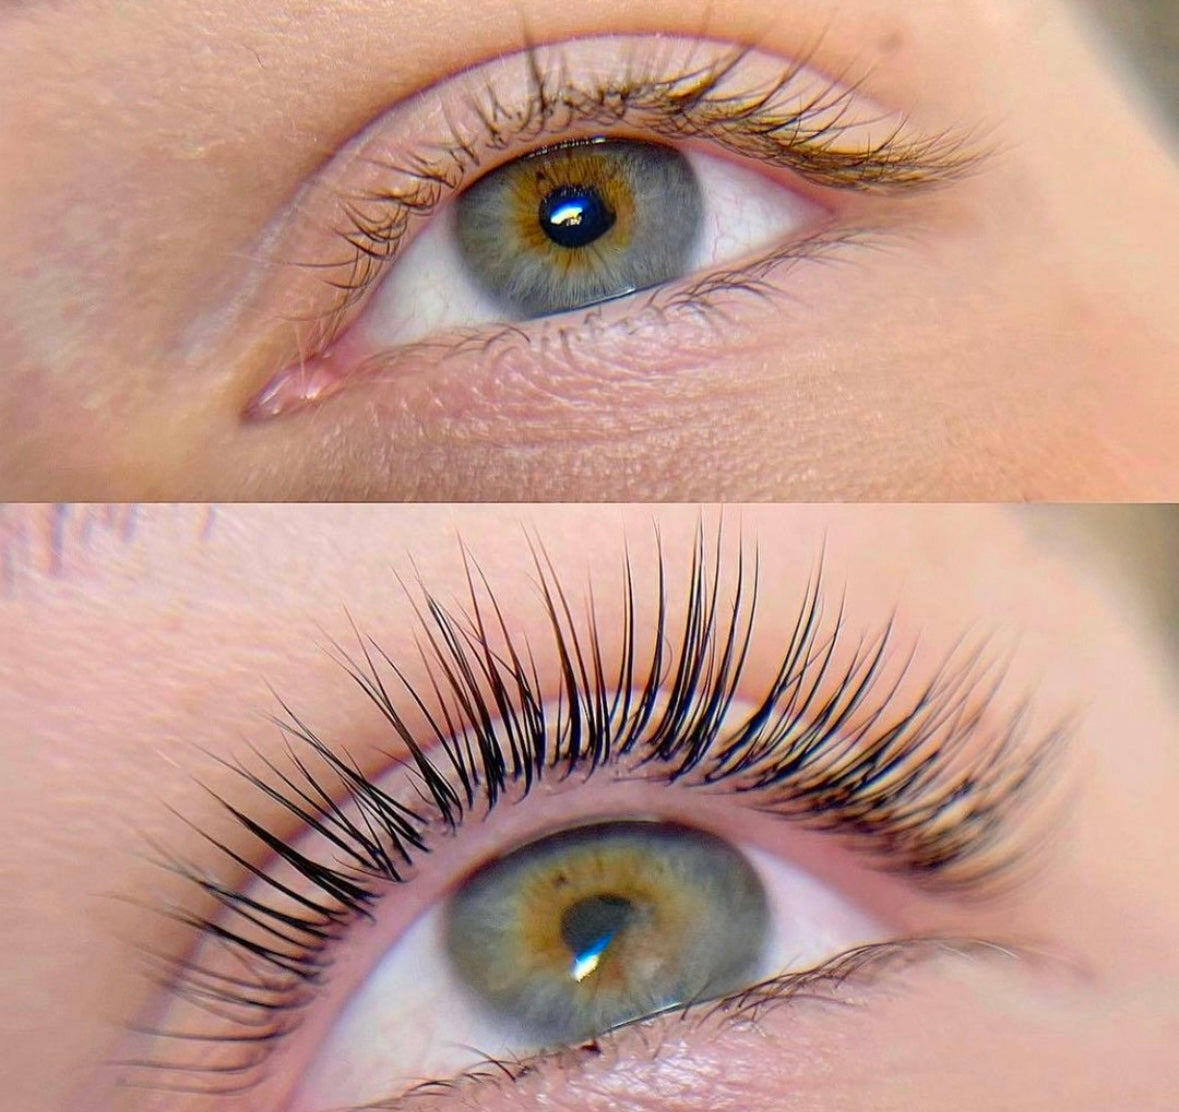
Dreaming of lush, fluttery lashes without the endless cycle of salon appointments or the faff of daily mascara? Good news—getting stunning, salon-worthy lashes at home is now easier than ever! With the magic of DIY
eyelash extensions kits, you can achieve fuller, longer lashes right from the comfort of your own bathroom, all while saving time and money. If you’re new to the world of at-home lash extensions or just want to perfect your
technique, you’re in the right spot. Let’s dive into the nitty-gritty of application, aftercare, and why these clever little kits are totally transforming the beauty scene.
Why Try DIY Eyelash Extensions?
Whether you’re a beauty lover, a busy professional, or a self-care enthusiast, chances are you’ve caught yourself daydreaming about flawless lashes that last—without the high price tag or the hassle of repeat bookings.
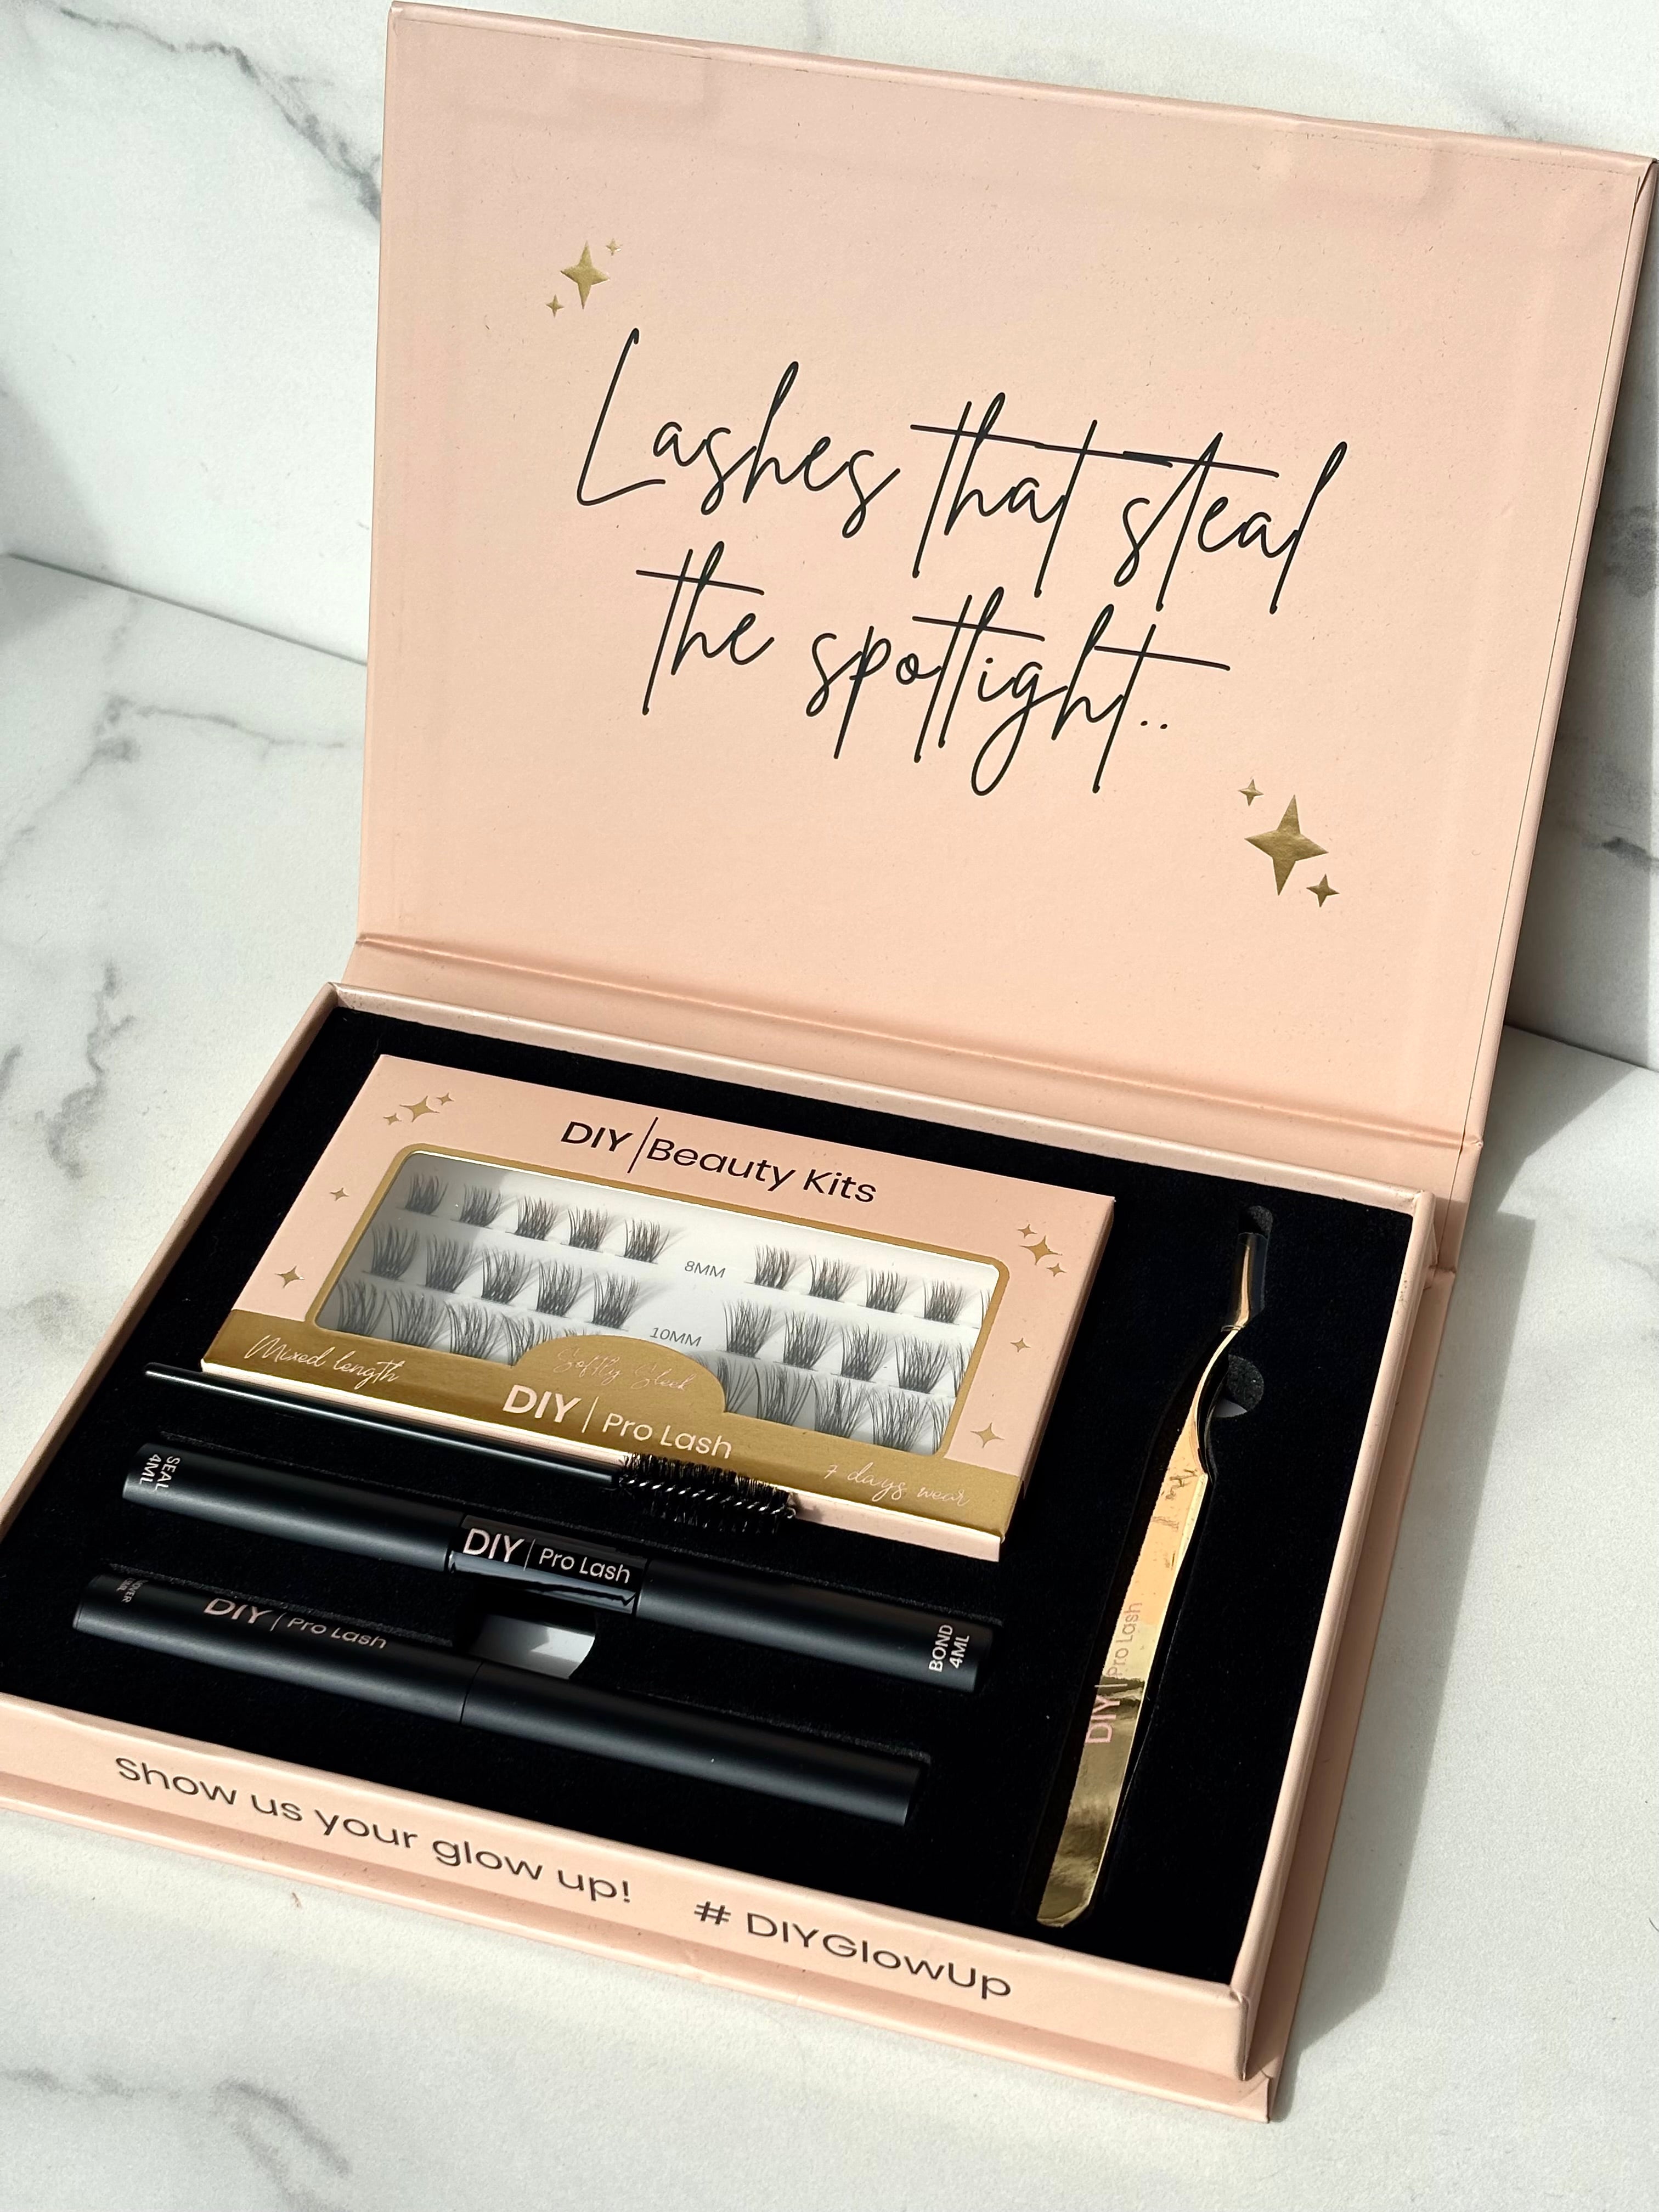
That’s where DIY eyelash extensions kits come in: they pack everything you need for stunning results, designed to be easy to use, affordable, and oh-so-effective.
Here’s what makes them so irresistible:
No complicated techniques or special training required
Fuss-free application and gentle removal
Salon-quality materials for a look you’ll absolutely love
Gorgeous results that fit seamlessly into your routine
How to Apply DIY Eyelash Extensions At Home
If you’ve ever wondered, "Can I really do this myself?" Spoiler alert: Absolutely! Applying at home lash extensions is simple when you follow the right steps. Here’s how you can get lusciously long lashes at home in under 30 minutes:
Step-by-Step Guide
1. Start fresh – Begin with clean, oil-free lashes. Use a gentle cleanser to remove any leftover make-up or residue.
2. Prep your lash kit – Lay out your eyelash extensions kit, ensuring you’ve got your lash clusters, adhesive, applicator, and a small mirror at hand.
3. Choose your style – Pick the lash clusters that best suit your desired look, whether that’s soft and natural or full-on glam!
4. Apply the adhesive – Using your lash applicator, dab a tiny amount of eyelash glue to the base of each cluster or along your natural lash line.
5. Place the clusters – Gently press the clusters onto your natural lashes, starting from the outer lash and working inwards. Take it slow and adjust each cluster as needed—no rush!
. Secure and blend – Once all clusters are in place, lightly press along the lashes to blend, and if you want, sweep through with a clean lash brush for a seamless effect.
7. Let them set – Give your new lashes a minute or two to settle. Voilà, flutter away!
Pro tip: If you need a visual on exactly how to do eyelash extensions, check out our detailed guide with real-life tips and demo photos.
Aftercare Tips for Your Fresh Lashes
Your lovely lashes deserve the best care! With just a bit of TLC, your at-home lash extensions will stay looking lush for longer:
Avoid getting your lashes wet for the first 24 hours
Steer clear of oily products around your eyes
Be gentle—no rubbing or picking
Use a lashes remover when it’s time to take them off, to avoid damaging your natural lashes
And if you want to boost your lash game even more, consider adding a nourishing lash serum to your routine. It helps keep your natural lashes strong and healthy between extensions.
How Long Do At-Home Lash Extensions Last?
Now for the real question: how many days can you rock your DIY lashes before needing a refresh? With proper application and care, your at-home lash extensions can last anywhere from 5 to 10 days. That means you can
wake up with beautiful lashes for a whole week (or longer!)—no mascara or lash curler needed.
Remember, everyone’s lashes and routines are different, so results may vary. If you fancy something super long-lasting, try topping up your look with a lash enhancing serum for extra resilience.
DIY Kits vs. Salon Treatments: What’s the Difference?
You might be wondering—how do DIY eyelash extension kits stack up against professional salon treatments? Here’s the lowdown:
Time & convenience: DIY kits let you skip the salon wait—apply lashes when and where you want, in half the time.
Cost savings: One kit costs less than a single salon set (and gives you multiple uses, too!).
Skill level: Designed for beginners and experts alike, our eyelash extensions kit is easy to use, with intuitive instructions and fuss-free tools.
Customisation: Go natural, bold, or somewhere in between, as often as you like—no limits!
Salon treatments can offer ultra-dramatic looks and are perfect when you want to truly splurge, but DIY beauty kits bring flexibility, affordability, and freedom into your everyday routine. Who says you can’t have both?
Ready for Gorgeous Lashes, Anytime?
The secret to stunning lashes with zero fuss is out—and it’s waiting in your bathroom cabinet! Whether you’re short on time or just love the freedom of customising your lash look, a DIY eyelash extensions kit puts control
and creativity in your hands. So go ahead and treat yourself to at-home glamour—because you deserve to feel beautiful, confident, and fabulous, every day!
Ready to discover your new beauty obsession? Explore our best-selling eyelash extensions kits and join the DIY beauty revolution with us. Go on, flutter those lashes and own your look! Follow this way to lashes today.. https://www.diybeautykits.co.uk/products/diy-lash-pro-kit