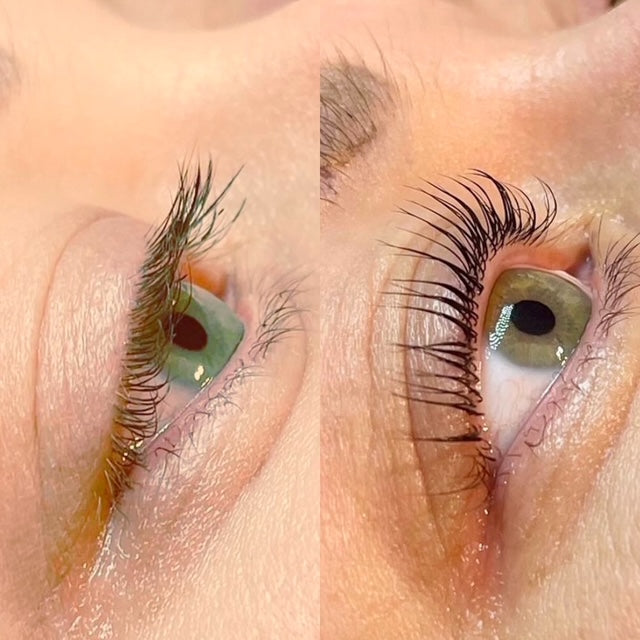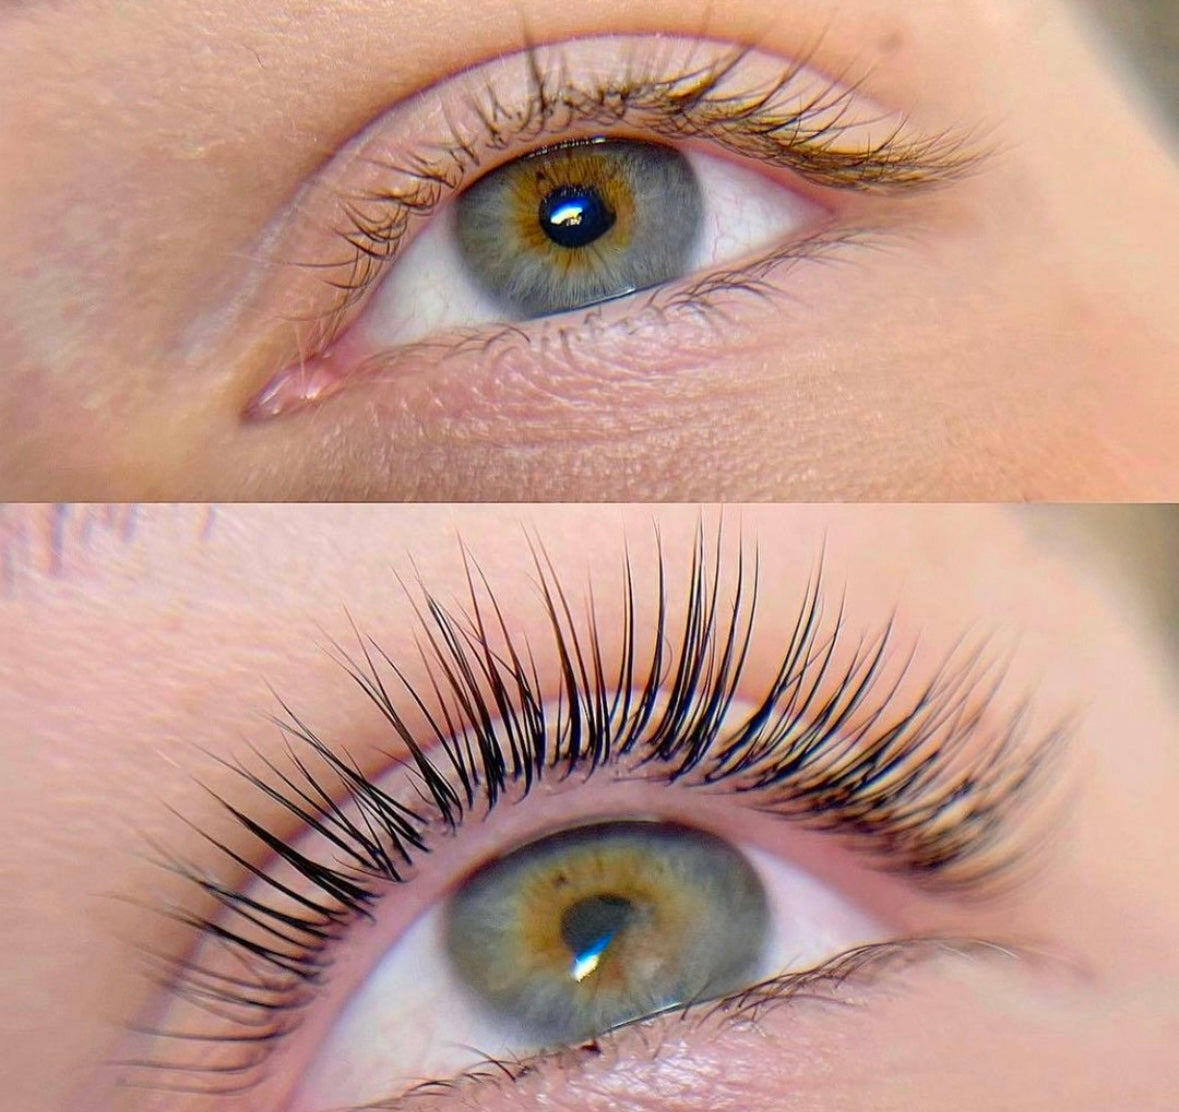

You'll also want to have on hand:
- A well-lit mirror (a magnifying one helps but isn't essential)
- Cotton pads and micellar water to remove eye makeup beforehand
- 20–30 minutes of quiet time without interruptions
- A hand towel
Before your very first lift: do a patch test. Put a tiny amount of the lifting lotion behind your ear the day before. If there's no reaction after 24 hours, you're safe to go ahead. This is non-negotiable — even if you've had salon lash lifts before.
Step-by-step: how to do a lash lift at home
Total time: 20–30 minutes. Work on one eye at a time if you're new — it's easier than trying to sync both.
Step 1: Cleanse thoroughly
Remove all eye makeup, mascara and any oil residue with micellar water on a cotton pad. Any oil left behind will stop the lifting solution from bonding properly. Pat dry.
Step 2: Choose your rod size
- Small rod — dramatic, high curl. Best for very straight lashes.
- Medium rod — natural but noticeable lift. Most people's go-to.
- Large rod — soft, subtle lift for those with already-curly lashes or shorter lashes.
If in doubt, start with medium.
Step 3: Position the silicone rod
Place the rod along your upper lash line, resting on the skin above the lash roots. It should be centred so no lashes are missed at the corners. Use the small amount of adhesive included to hold it in place — press gently for a few seconds.
Step 4: Lift lashes onto the rod
Using the applicator tool, brush each lash upwards from the root and press it flat against the rod. Every lash needs to be attached — the ones you miss won't curl. Take your time. Ten minutes on this step is not overkill.
Step 5: Apply the lifting lotion
Squeeze a rice-grain-sized amount onto the applicator and paint it along the bottom two-thirds of your lashes (where they touch the rod). Do not apply to the tips.
Set a timer:
- 8 minutes for fine or previously-treated lashes
- 10 minutes for average lashes
- 12 minutes maximum for coarse or resistant lashes
Never guess timing. Under-processing means no curl; over-processing damages lashes.
Step 6: Remove and apply setting lotion
Gently wipe off the lifting lotion with a dry cotton bud. Now apply the setting lotion to the same area, same amount, and time it the same length as step 5.
This is what locks the new shape in. Skipping or under-timing this step is the number one reason lifts don't hold.
Step 7: Tint (optional but recommended)
While the setting lotion is still on, or straight after, mix a small amount of the tint with the activator and apply carefully over the setting lotion. Leave for 5–10 minutes for your preferred darkness.
Step 8: Clean and nourish
Wipe everything off gently with a damp cotton pad. Gently peel the silicone rod away — pull the skin taut and lift the rod up and away from the lashes. Finish with the included nourishing serum along the lash line to condition and protect.
That's it. Your lashes are lifted.
Aftercare — the first 24 hours matter most
The chemical bonds are still setting for the first day. To make sure your lift lasts the full 6–8 weeks:
- No water on your lashes for 24 hours. No steam, no crying at TV shows (I know), no swimming.
- No mascara for 24 hours. After that, water-based mascara is fine but not needed — most people skip mascara entirely once lifted.
- No oil-based products near the eyes. Oil breaks down the lift. That includes some eye creams, cleansing balms and micellar waters — check labels for "oil-free".
- Use the nourishing serum nightly for the first week. It keeps the lashes hydrated so they don't feel brittle.
Beyond week one, treat your lashes normally. They'll gradually relax over 6–8 weeks and you can lift again.
Common mistakes to avoid
The three biggest reasons an at-home lash lift disappoints:
1. Skipping the patch test. Rare but a chemical allergic reaction to the lifting agent is not fun. 30 seconds of prep the day before is worth it.
2. Wrong timing. Setting a timer sounds obvious but you'd be surprised how many people eyeball it. Over-processing is the reason lashes feel dry or brittle afterward. Under-processing is why the curl fades in a week.
3. Missing lashes at the corners. The outer and inner corners get forgotten because they're hardest to see. Use good lighting and check twice before applying the lifting lotion.
FAQs
How long does a lash lift last?
6 to 8 weeks on average. Your lashes have a natural growth cycle, so as new lashes come in they won't be lifted, but existing lifted ones hold shape until they naturally shed.
Does a lash lift damage your lashes?
Not when done correctly. The lifting and setting solutions in a properly formulated kit are gentle enough for weekly-to-monthly repeat use. Damage almost always comes from over-processing (leaving solutions on too long) or lifting too frequently. Our recommendation: no more than one lift every 6 weeks.
Can I wear mascara after a lash lift?
Yes, after 24 hours. Water-based only, no waterproof (waterproof formulas usually need oil-based removers, which weaken the lift).
Can I do a lash lift over lash extensions?
No. The lifting solution won't work through the glue and can loosen extensions. Remove extensions first and let your natural lashes recover for 1–2 weeks before lifting.
Is a lash lift the same as a lash tint?
No — they're two different treatments. A lift curls your lashes; a tint darkens them. Most kits (ours included) let you do both in the same session for the fullest result.
How soon can I have another lash lift?
Wait at least 6 weeks. Any sooner and you're processing lashes that are still chemically fresh, which is where damage happens.
What if my curl came out uneven?
Usually a placement or timing issue. Don't try to fix it with another lift within 6 weeks. Use the nourishing serum, let the lift naturally wear down, and adjust your rod position or timing next round.
Can I do this on lower lashes?
Technically yes, but it's not recommended — lower lashes are much finer and the risk of solution getting in the eye is higher. Stick to upper lashes.
Ready to try your first at-home lash lift?
Our At-Home Lash Lift & Tint Kit contains everything mentioned in this guide — 5 full applications, black tint included, 3 silicone rod sizes, applicator tools, and step-by-step instructions on the back of the pack. It's £24.95 with free UK delivery over £50, and it's genuinely the same product I'd want if I were shopping for one myself.
If you're new to DIY beauty in general, take a look at our Best Selling Kits collection — the Lash Lift Kit is our most-loved product, but our DIY Brow Lamination Kit is a natural next step for anyone wanting salon-standard brows to match their new lashes.
Any questions? Drop us a message — we'd rather help you get a great result than sell you a product you won't use.