
Salon brow lamination in the UK costs £45-£70 per session and lasts 6-8 weeks. Do the maths and that's easily £300+ a year to have brows that stay lifted, defined and styled the way you want them. The good news? A proper at-home brow lamination kit does the exact same chemistry, gives you 5 full treatments, and costs less than one salon visit.
This guide walks you through exactly how to do brow lamination at home safely — the step-by-step technique, aftercare that makes the results last, common mistakes to avoid, and the questions we get asked most. Whether you've never touched a brow kit before or you've tried and got patchy results, this is the guide I wish existed when I started.
What is brow lamination?
Brow lamination is a semi-permanent treatment that reshapes your brow hairs, lifting them into a fuller, fluffier, more polished look. Think of it as a "perm" for your brows — the hairs stay set in the direction you comb them for 6-8 weeks.
The process uses two gentle chemical solutions:
1. A lifting cream that softens the brow hair structure so it can be reshaped.
2. A setting cream that locks the new brushed-up shape in place.
Once your brows are set, you can optionally add a tint at the end for extra definition and darkness. Our Brow Lamination Kit includes 5 full treatments plus tint — enough for around 6-8 months of continuous results.
Brow lamination vs microblading vs tinting: what's the difference?
Three treatments that get confused constantly. Here's the actual difference:
Brow lamination
Chemically lifts and reshapes your natural brow hair. Non-invasive, temporary (6-8 weeks), needle-free. Gives the "fluffy brow" look. This is what we make.
Brow tinting
Just darkens the brow hair colour. Doesn't change shape or lift. Often done alongside lamination for extra definition.
Microblading
Semi-permanent tattoo. A technician uses tiny needles to draw hair-like strokes into the skin. Lasts 12-18 months, but it's semi-permanent (harder to change or undo), invasive, and costs £250-£500 for the initial appointment plus touch-ups.
If you want fuller, lifted brows that stay in place for 6-8 weeks with zero needles and £5 per session, brow lamination is almost always the right answer. Microblading is only worth it if you have very sparse brows and want a permanent shape.
Why do brow lamination at home?
Three reasons, in order of importance for most people.
Cost. Salon brow lamination in the UK is £45-£70 per session. Our Brow Lamination Kit is £24.95 for 5 full treatments — that's £5 per lamination. Over a year, you'd save £250-£350 doing it at home.
Convenience. No booking two weeks out, no travel, no lying on a treatment bed. Do it at home in 20 minutes while the kettle boils.
You control the look. Once you've done it a couple of times, you learn exactly the brow shape and darkness you want — most salons default to one "fluffy brow" style that doesn't suit every face.
What you'll need
Everything is in a proper kit. Ours contains:
- Lifting cream
- Setting cream
- Nourishing serum
- Brow tint + activator
- Brow brush and applicators
You'll also want to have on hand:
- Micellar water or oil-free cleanser
- A well-lit mirror (magnifying helps for the tint step but isn't essential)
- 15-20 minutes of quiet time
- Cotton pads and cotton buds
Before your very first treatment: do a patch test. Put a tiny amount of the lifting cream behind your ear the day before. If there's no reaction after 24 hours, you're safe to go ahead. Non-negotiable, even if you've had salon brow treatments before.
Step-by-step: how to do brow lamination at home
Total time: 15-20 minutes. Work through both brows together for a symmetrical look — trying to do one and then the other usually leads to uneven results.
Step 1: Cleanse thoroughly
Remove all makeup, foundation, and any oil residue from around your brow area with micellar water on a cotton pad. Oil breaks down the chemical bonds, so this step matters. Pat completely dry.
Step 2: Brush your brows into shape
Using the included brow brush, brush your brows UPWARDS and slightly outwards — this is the shape they'll set in. Take a good look in the mirror and decide if that's the shape you want. Adjust before applying any product.
Step 3: Apply the lifting cream
Squeeze a rice-grain-sized amount onto a cotton bud and paint it evenly through both brows, following the direction you brushed them. Cover all the brow hair but avoid getting it on the skin around the brows.
Set a timer:
- 8 minutes for fine, sparse or previously-treated brows
- 10 minutes for average brows
- 12 minutes for coarse or resistant brows
Never guess timing. Under-processing means no lift. Over-processing dries out brow hair and can cause brittleness.
Step 4: Remove and apply setting cream
Gently wipe off the lifting cream with a dry cotton pad, working in the direction of hair growth. Now apply the setting cream to the same area, same amount, and time it the same length as step 3.
This is what locks the new shape in. Skipping or under-timing this step is the number one reason brow lamination doesn't hold.
Step 5: Wipe clean
Gently remove the setting cream with a damp cotton pad in the direction of hair growth. Brush brows into their final shape while still slightly damp.
Step 6: Tint (optional but recommended)
Mix a small amount of the brow tint with the activator in the included tray. Using a fine brush, apply the tint following your natural brow shape. Leave for 5-10 minutes depending on how dark you want the finish (start with 5 the first time — you can always go longer next round).
Step 7: Clean and nourish
Wipe off the tint gently with a damp cotton pad. Apply the nourishing serum along the brow line to condition and hydrate. Brush brows into their final laminated shape.
That's it. Your brows are laminated.
Aftercare — the first 24 hours matter most
The chemical bonds are still setting for the first day. To make sure your lamination lasts the full 6-8 weeks:
- No water on your brows for 24 hours. No showering directly on the brow area, no steam, no sweat.
- No brow makeup for 24 hours. After that, brow gel or pencil is fine on top of lamination — most people find they don't need it once laminated.
- No oil-based products near the brows. Oil breaks down the lift over time. Check face oils, cleansing balms, and eye creams for anything ending in -oil.
- Use the nourishing serum nightly for the first week. It keeps brow hairs hydrated so they don't feel brittle or dry.
Beyond week one, treat your brows normally. They'll gradually relax over 6-8 weeks and you can laminate again.
Common mistakes to avoid
Four we see all the time:
1. Skipping the patch test. Chemical allergic reactions are rare but they're not fun on your face. 30 seconds of prep the day before is worth it.
2. Wrong timing. Over-processing dries the brow hair and can cause breakage. Under-processing means no lift. Always set a timer.
3. Uneven application. If you use too much cream on one brow and less on the other, they process at different rates. Same amount, same time, both brows.
4. Laminating too often. Wait 6 weeks minimum between treatments. Processing brows that are still chemically fresh from the last lift is where damage happens.
FAQs
How long does brow lamination last?
6 to 8 weeks per treatment. Your brow hairs have a natural growth cycle, so as new hairs come in they won't be laminated, but existing laminated ones hold shape until they naturally shed.
Does brow lamination damage brow hair?
Not when done correctly. The lifting and setting creams in a properly formulated kit are gentle enough for repeat use every 6-8 weeks. Damage almost always comes from over-processing (leaving cream on too long) or laminating too frequently.
Can I still wear brow pencil or gel after lamination?
Absolutely, but most people find they don't need to. Laminated brows already look fuller and defined. If you do use brow makeup, water-based gels and pencils are fine.
Can I laminate over microblading?
Yes — lamination sits on top of the brow hair, not the skin. It doesn't affect microblading pigment. Many people combine both.
How is this different from a brow gel or soap brows?
Soap brows and brow gels are temporary — they wash off with cleansing. Lamination is a semi-permanent chemical treatment that reshapes the hair structure for 6-8 weeks. No re-applying every morning.
How soon can I have another brow lamination?
Wait at least 6 weeks. Any sooner and you're processing brow hairs that are still chemically fresh, which is where breakage happens. Space treatments out and use the nourishing serum in between.
What if my brows come out uneven?
Usually a timing or application issue. Don't try to fix it with another lamination within 6 weeks. Use the nourishing serum, let the lift naturally relax, and adjust technique next round.
Is this safe if I have sensitive skin?
The formulas are gentler than salon-strength versions but always do the patch test first. If you have very reactive skin, apply nourishing serum around (not on) the brows before treatment to protect the surrounding skin.
Can I tint without laminating?
Yes — you can just use the tint step on its own for extra brow definition without the lift. Great option if you have naturally full brows but want them darker.
Ready to try your first at-home brow lamination?
Our Brow Lamination Kit contains everything mentioned in this guide — 5 full treatments, includes tint, all applicators, and step-by-step instructions on the back of the pack. It's £24.95 with free UK delivery over £50, and that's under £5 per treatment vs £45-£70 at the salon.
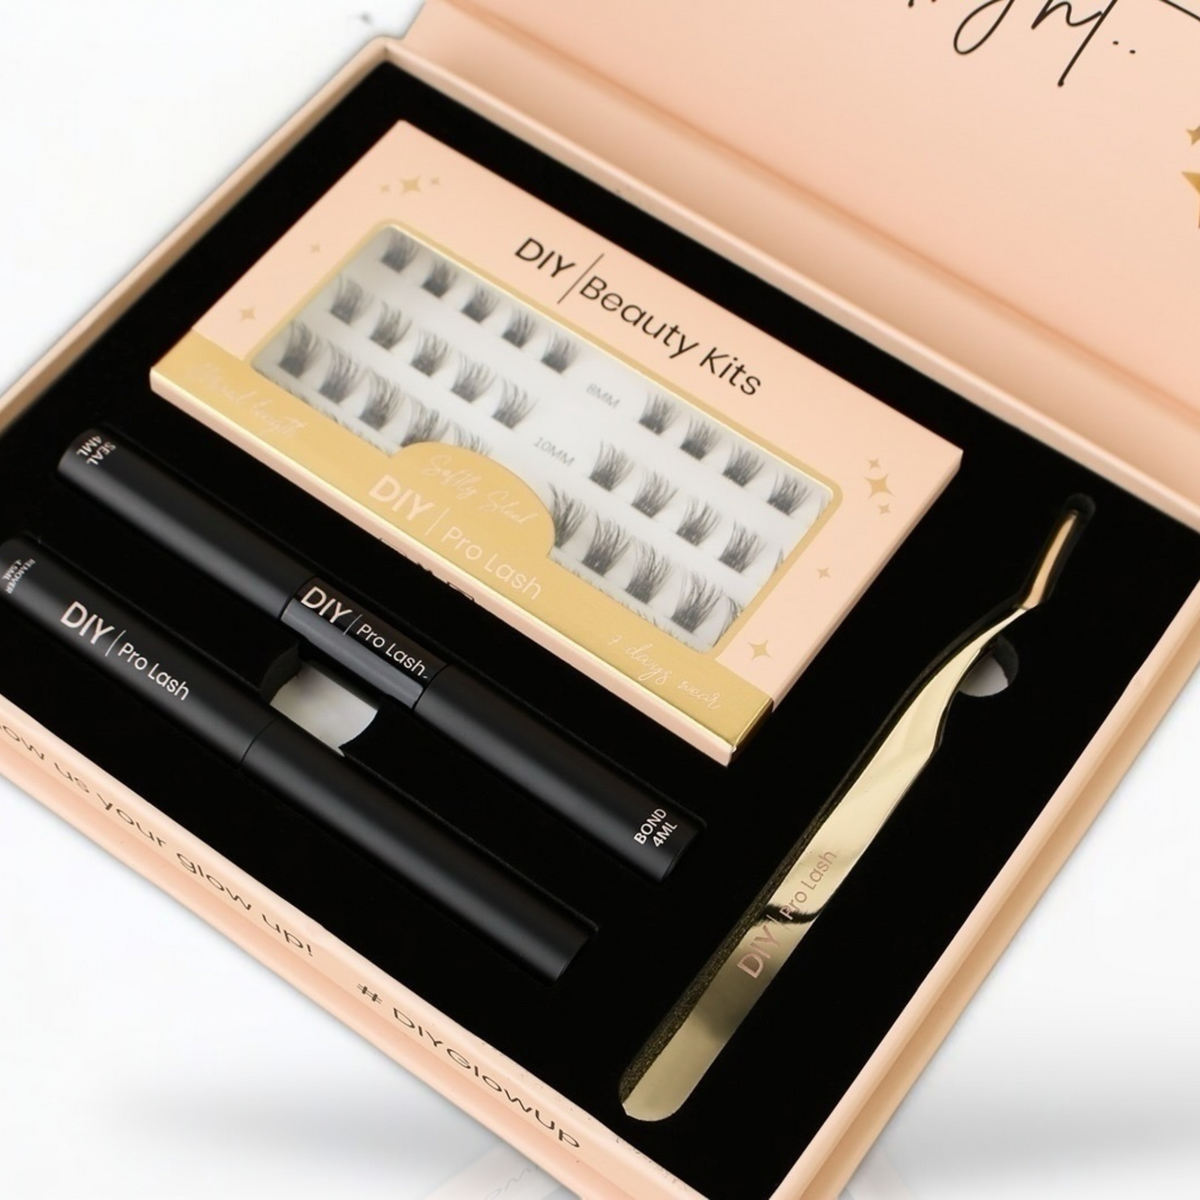
If you also want lifted lashes to match your fluffy brows, our DIY Cluster Lash Kit gives you 7-day salon-look lashes at home — the perfect pairing for a full face reset. And to keep the natural lash hair around your laminated brows healthy, the Eyelash Growth Serum is £16.21 and works beautifully alongside.
Any questions on which technique or product suits you? Send us a message — we've been doing this a while and we'd rather chat through what would work for your brows than sell you the wrong kit.